Intermediate · Knot guide
Crown Knot
For Round Projects. A crown knot is how round projects start — keychains, lampshades, pulls. It uses four cords arranged in a cross and locks them together at a single point.
How to tie it
1 Why this knot matters
A crown knot is how round projects start — keychains, lampshades, pulls. It uses four cords arranged in a cross and locks them together at a single point. Take five minutes to practice it on scrap cord before you start any project that uses it — a clean version of this knot will visibly elevate your finished piece, and a sloppy one will pull the whole project down with it.
2 Step 1
Lay four cords flat in a plus sign. Label them North, South, East, West by their direction from the center.
3 Step 2
Fold North down across the center.
4 Step 3
Fold East across, over the top of North.
5 Step 4
Fold South up, over the top of East.
6 Step 5
Fold West across, over the top of South AND through the loop made by North.
7 Step 6
Pull all four cords gently outward to tighten. The center should form a small square crown.
8 Common mistakes
The two most common ways this knot goes wrong: inconsistent tension between knots, and accidentally swapping which cord plays which role. Mark your working cords with a piece of tape until the muscle memory takes over. After a dozen practice repetitions on scrap cord, your hands will know what to do without looking.
9 Where to use it next
Once you have this knot down, every pattern on StitchVault that lists it in its Knots section will feel approachable. Start small — try it in a keychain or coaster project — before scaling up to a wall hanging or curtain. The knot itself is identical at any scale; only the cord length and patience required change.
Patterns that use this knot
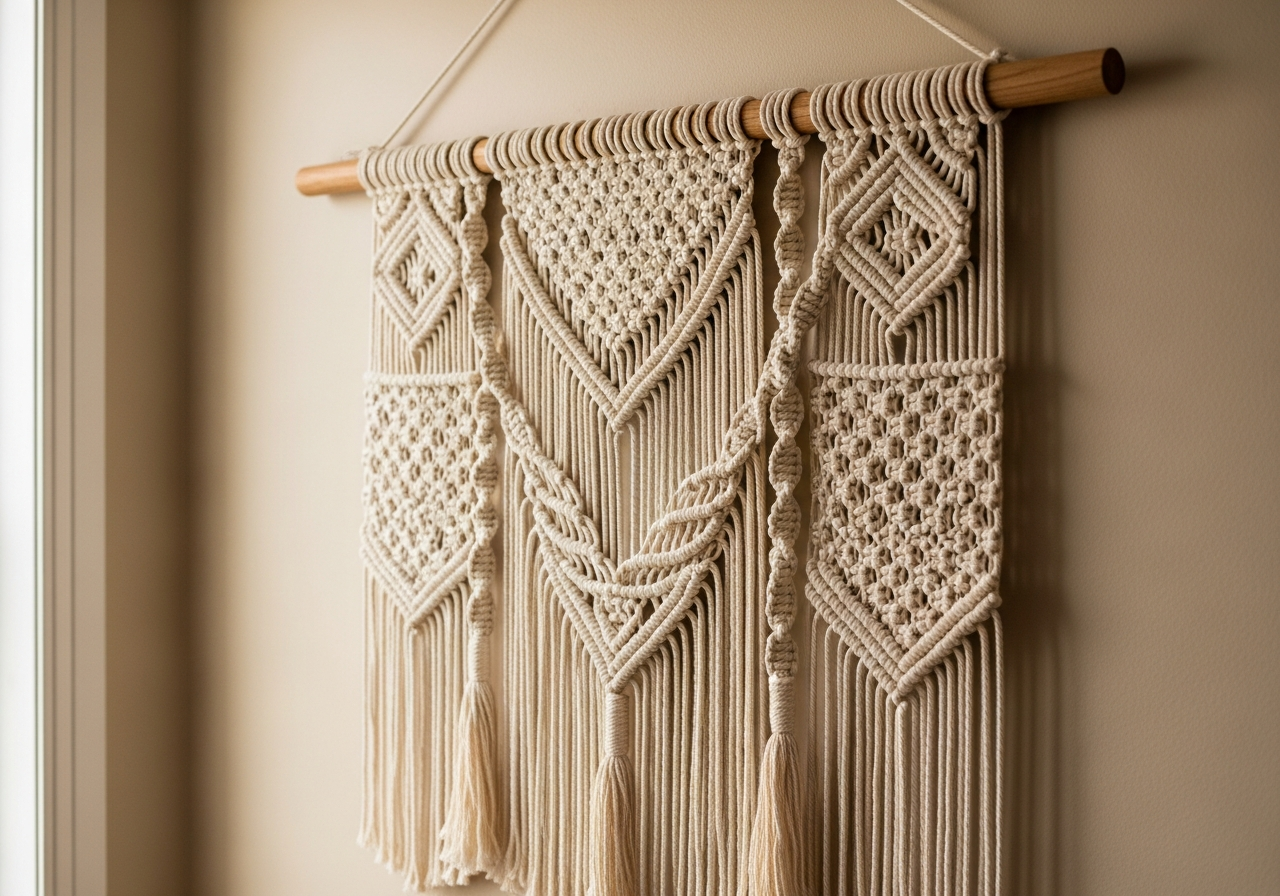 Wall Hanging
Boho Sand Wall Hanging
A intermediate-level wall hanging in the boho style. Combines lark's head knot for a finish that reads as sand and boho. Estimated…
Wall Hanging
Boho Sage Wall Hanging
A advanced-level wall hanging in the boho style. Combines wrap knot for a finish that reads as sage and boho. Estimated finish tim…
Wall Hanging
Boho Natural Wall Hanging
A intermediate-level wall hanging in the boho style. Combines diagonal clove hitch for a finish that reads as natural and boho. Es…
Wall Hanging
Minimalist Terracotta Wall Hanging
A advanced-level wall hanging in the minimalist style. Combines half hitch for a finish that reads as terracotta and minimalist. E…
Wall Hanging
Minimalist Linen Wall Hanging
A advanced-level wall hanging in the minimalist style. Combines berry knot for a finish that reads as linen and minimalist. Estima…
Wall Hanging
Rustic Cream Wall Hanging
A intermediate-level wall hanging in the rustic style. Combines spiral knot for a finish that reads as cream and rustic. Estimated…