Wall Hanging
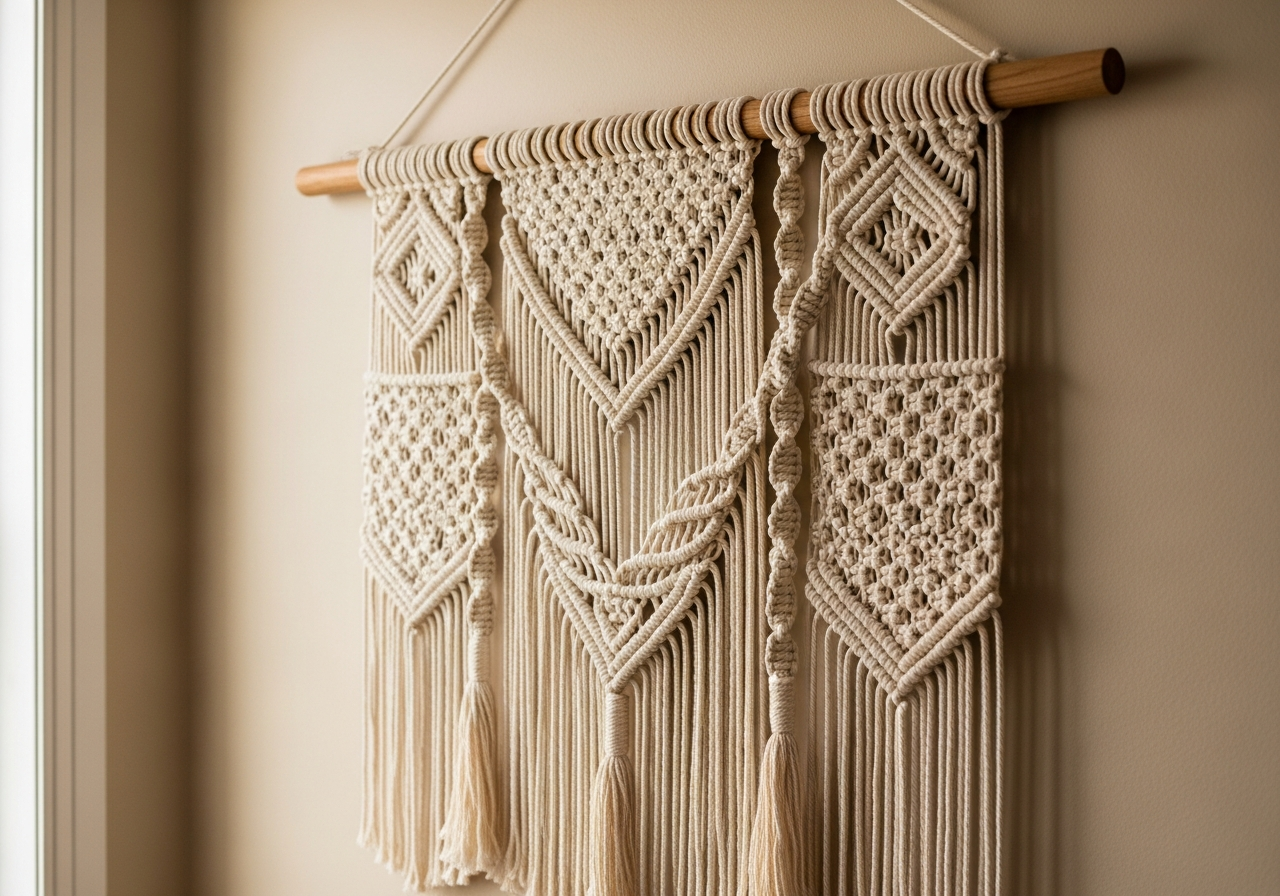
Boho Sand Wall Hanging
A intermediate-level wall hanging in the boho style. Combines lark's head knot for a finish that reads as sand and boho. Estimated finish time is about 4 hours with all materials prepped.
Materials
- 16 cords at 5 m each
- Fabric stiffener spray
- Sharp fabric scissors
- Measuring tape
- Garment steamer
- Wooden ring, 1.5 in (4 cm)
Knots used
- Lark's Head Knot — read the guide
- Diagonal Clove Hitch — read the guide
- Spiral Knot — read the guide
- Crown Knot — read the guide
Step-by-step instructions
-
1 Gather your materials
Lay everything out before you start. You will need 16 cords at 5 m each, plus the supporting hardware listed above. Working with pre-measured cords prevents the most common beginner mistake — running short of cord midway through a row. Set scissors and a measuring tape within arm's reach, and clear a flat work surface roughly twice the width of the finished piece. Tape the dowel or anchor down so it cannot shift while you knot.
-
2 Mount the cords
Fold each cord in half and attach it to the dowel with a Lark's Head Knot. Drape the loop behind the dowel, fold it forward over the top, and pull both tails through the loop. Snug the knot up to the dowel without distorting it. Mount the cords from the center outward so the spacing stays even, leaving roughly a finger's width of dowel exposed at each end.
-
3 Establish your foundation row
Work a single row of lark's head knots across the full width to lock the mounting in place. Keep tension consistent — over-tightening will cause the dowel to bow, and loose tension will leave gaps. This row sets the spacing for everything that follows, so take your time. Step back after every four knots and check that the row is parallel to the dowel.
-
4 Build the main pattern body
The body of this wall hanging is built from repeating lark's head knots, diagonal clove hitchs. Work in groups of four cords, alternating which group you knot in each row to create the characteristic boho mesh. Repeat for the height called out in the materials list, or until the panel reaches your desired length.
-
5 Add the focal element
Introduce a band of spiral knots across the center of the work. This is the visual anchor of the piece — the moment a viewer's eye lands. Treat it like a stripe of contrast: keep the surrounding rows quieter so the focal band reads clearly. If the cords twist as you knot, let them — that natural movement is part of the charm.
-
6 Shape the silhouette
Use Diagonal Clove Hitches to draw the V, diamond, or curved lines that define the lower edge of the wall hanging. Work from the outside in for V shapes and from the center out for inverted Vs. Each clove hitch is two stacked half hitches around the same holding cord — keep the holding cord under firm tension or your line will sag.
-
7 Finish the bottom edge
Decide on the bottom finish: a clean fringe, a tasseled edge, or a wrapped bundle. For fringe, comb each cord open with a wide-tooth comb until the fibers fluff out. For tassels, gather small groups of cords and bind each with a Wrap Knot 1 inch from the bottom. Always trim the fringe after the piece is hung — gravity will expose any cords that need a final pass.
-
8 Block and steam
Cotton macramé relaxes once it hangs, but you can speed that along. Lightly mist the finished piece with water and pass a garment steamer over it on the lowest setting, holding the steamer 6 inches away from the work. This relaxes any kinks from the cord packaging and helps the knots settle into their final position. Allow the piece to dry fully before final trimming.
-
9 Hang and style
Mount the dowel using two small picture hooks spaced just inside the cord ends so the weight of the piece pulls the dowel level. For a wall hanging, style it against a plain wall so the negative space frames the knotwork. Photograph it in soft side light if you want the texture to show; flat front light flattens the knots and hides the work you just put in.
Maker’s tips
- Mist the finished fringe lightly with water and brush downward for an even, fluffy edge.
- Tie a safety knot at the top of each cord to keep ends from fraying as you work.
- Use a wide-tooth comb rather than a fine one to avoid shredding the cotton fibers.